Witch's Cupboard Quilt
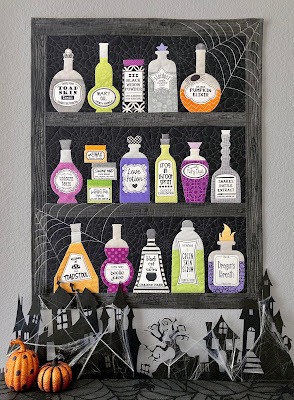
Check out my new Halloween quilt...The Witch's Cupboard Quilt!
Every once in a while, one of my gazillion quilt ideas actually gets made into a quilt. This is one of the lucky ones and I love how it turned out. The process of taking a random idea and turning it into a quilt is something I have done so many times now, I don't really even think about it. But just in case anyone is intereste…
Every once in a while, one of my gazillion quilt ideas actually gets made into a quilt. This is one of the lucky ones and I love how it turned out. The process of taking a random idea and turning it into a quilt is something I have done so many times now, I don't really even think about it. But just in case anyone is intereste…


